The Complete Guide to DIY Home Window Film Installation (Step-by-Step)

For homeowners seeking enhanced comfort and value, installing window film is a cost-effective solution. Whether it’s blocking summer heat, reducing glare, protecting family privacy, or preventing furniture fading, premium window film delivers significant benefits without the cost of replacement windows. This guide will walk you through a professional-grade DIY installation process.
1.Why Choose Window Film for Your Home? (Key Benefits)
Modern window film technology offers much more than basic tinting. Take KASHIBANG Architectural-Grade films as an example – they provide multi-functional advantages:
- Smart Temperature Control & Energy Savings:Solar control films utilize special metallic coatings to block up to 80% of solar heat (e.g., KASHIBANG Architectural Series). This significantly reduces indoor temperature fluctuations, lowering AC usage by 15-30% in summer and minimizing heat loss in winter. Long-term savings are substantial compared to low-E glass replacement.
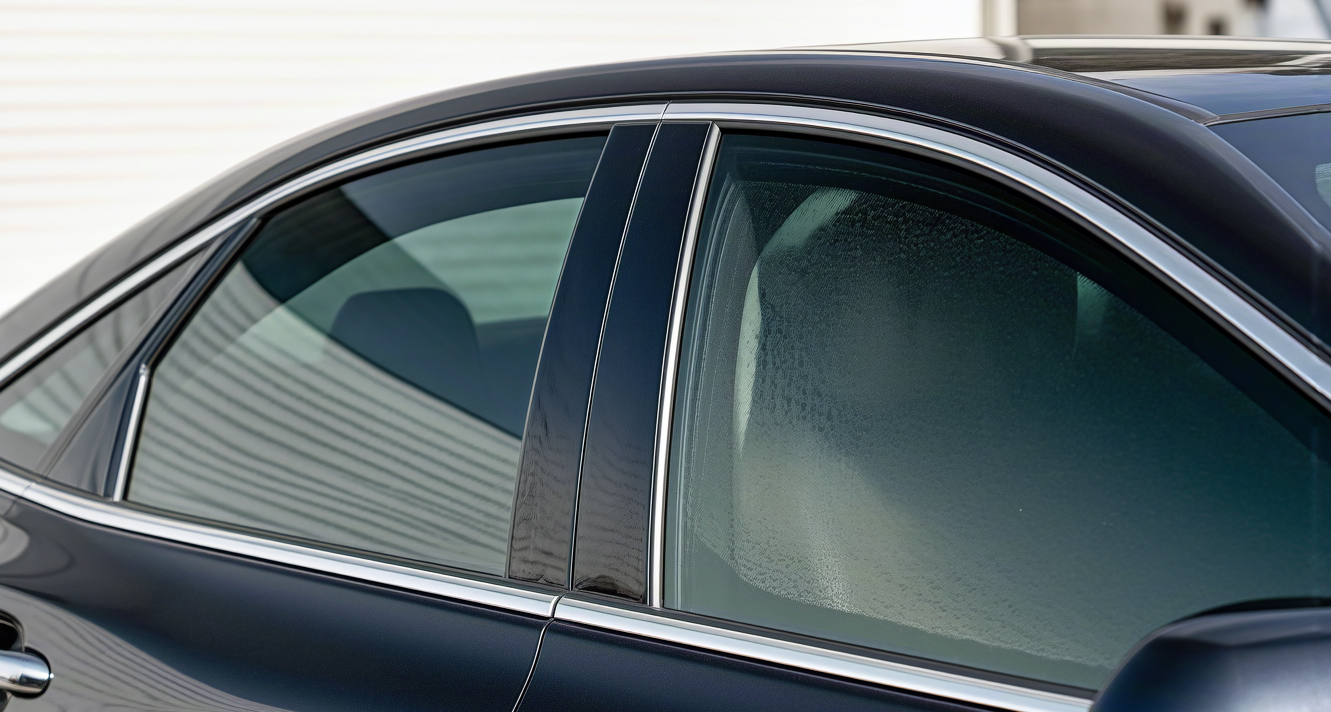
- Full-Spectrum UV Protection:High-quality films filter 99% of damaging UVA (320-400nm) and UVB (280-320nm) rays – equivalent to SPF 285+ protection. This safeguards your family’s skin and prevents fading of furniture, carpets, and artwork, extending their lifespan.
- Enhanced Visual Comfort:By modulating Visible Light Transmission (VLT %), film reduces glare intensity by 50-90%. This eliminates screen washout on TVs and monitors while maintaining soft, natural daylight – ideal for rooms with severe west-facing sun exposure.
- Increased Safety & Privacy:Safety films (4MIL thickness and above) enhance ordinary glass strength up to 3x, often meeting international building codes for laminated glass alternatives on windows under 9m². Privacy films provide daytime visual seclusion through one-way visibility, creating a secure sanctuary without sacrificing light.
2.Essential Tools & Materials Checklist
Precision installation requires the right tools. Gather these items beforehand:
Core Materials:
- Window Film: Choose based on need: Solar Control Film (15-35% VLT for sun-facing windows), Privacy Film (5-20% VLT), or Safety Film (4MIL+).
- Installation Solution: 32oz (approx. 946ml) spray bottle + Slip Tack installation solution (or mix 1 tsp baby shampoo per 1L water as a common alternative).
Key Tools:
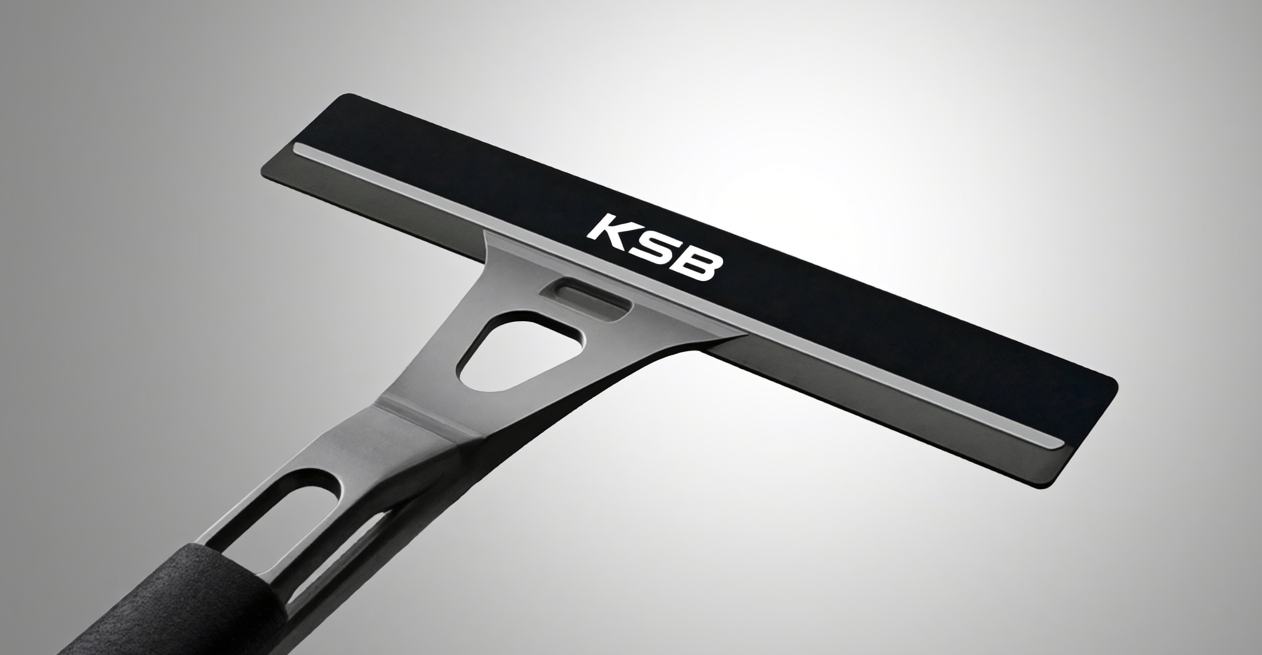
- Squeegee: Medium-hardness silicone blade (flexible but firm, avoids scratching).
- Utility Knife: Fresh #11 blades for precise cutting.
- Single-Edge Razor Blade: For deep glass cleaning (wear cut-resistant gloves).
- Lint-Free Towels: 300gsm+ microfiber (prevents fiber residue).
Support Items:
- Tape Measure (5m+), Marker Pen, Low-Residue Tape (for film positioning), Old Towels (catch drips).
3.Step-by-Step Professional Installation Guide
Step 1: Preparation & Planning
- Timing:Aim for mild conditions: 15-25°C (59-77°F), 40-60% humidity, cloudy days. Avoid direct sun (accelerates drying) and cold temperatures (can freeze solution).
- Area Prep:Clear the window sill, remove curtains/blinds. Cover the floor below with old towels or plastic sheeting.
- Tool Check: Assemble squeegee, test spray bottle mist, ensure blades are sharp.
Step 2: Deep Glass Cleaning (Critical Step!)
Use the “Three-Stage Cleaning Method”:
Initial Clean: Spray solution generously, wipe entire surface thoroughly in overlapping “S” patterns using a lint-free towel.
Deep Scrape: At 15° angle, carefully scrape entire glass surface (especially edges!) with a fresh single-edge razor blade to remove paint spots, old adhesive, embedded dirt. (CAUTION: Do NOT use metal scrapers on single-pane glass!).
Final Inspection & Dry: Shine a flashlight at 45° across the glass. Any streaks, specks, or lint mean repeat cleaning! Wipe frame edges completely dry.
Step 3: Film Prep & Cutting
- Measurement:Measure glass exactly.
- Film Width: Glass Width+ 5cm (2.5cm overlap each side).
- Film Height: Glass Height+ 10cm (5cm overlap top & bottom to account for stretch/sag).
Cutting Technique:
- Lay film flat (non-adhesive liner side UP) on clean surface.
- Use tape measure and marker to draw cut lines on the liner.
- Cut slowly along lines using sharp utility knife and straight edge for clean, vertical edges.
- Leave liner ON until the moment you apply.
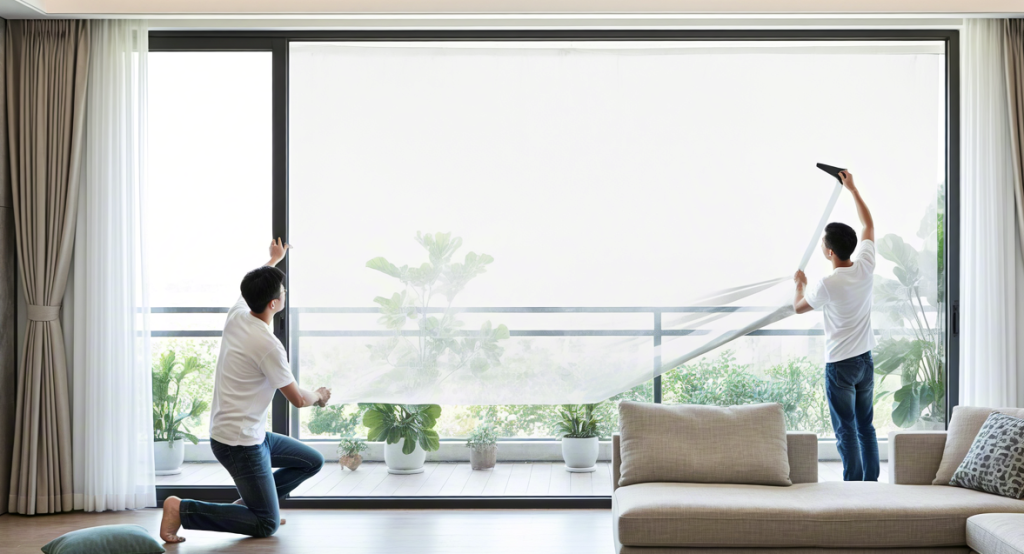
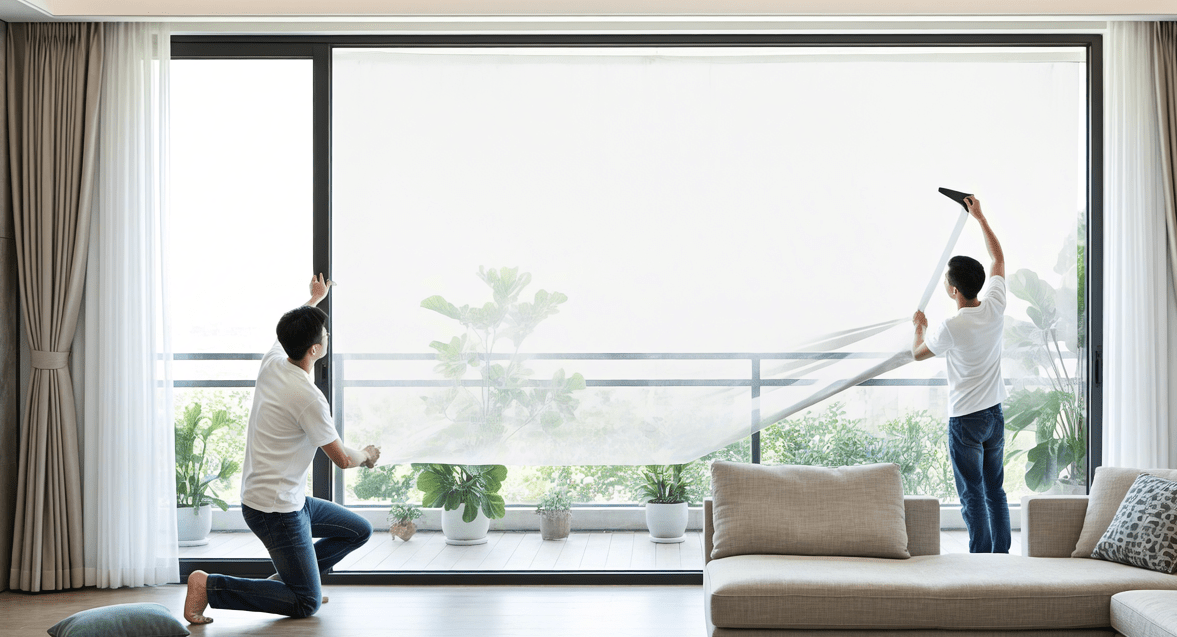
Step 4: Application & Positioning
- Wet the Glass:Generously mist the entire clean glass surface with solution (approx. 200ml per sqm).
- Peel & Position:Peel back ~10cm of liner from the top edge. Tape this peeled section to itself (keeps adhesive clean).
- Initial Placement:Carefully align the film’s adhesive top edge to the window’s top edge. Let the film hang loosely.
- Fine Adjustment:For large windows, have a helper gently hold the bottom edge. Lightly squeegee film vertically, center outwards, to remove large air/water pockets and ensure smooth hanging. Adjust horizontal position now if needed.
- Full Attachment:Peel away remaining liner while supporting film. Mist exposed adhesive lightly. Starting at the center, firmly squeegee horizontally outward (Top-to-Bottom rows), applying firm, even pressure (approx. 5-8kg/cm²) to drive out all solution. Overlap passes. Mist surface if squeegee starts dragging.
Step 5: Trimming & Finishing
- Edge Trimming:Using the glass edge as a guide, carefully trim excess film with a sharp utility blade held at ~30°. Push blade point lightly under the edge if needed. Run squeegee firmly along all cut edges to seal.
- Solution Removal:Squeegee entire film surface again, focusing on edges. Blot excess solution in frame channels with a towel corner.
- Curing:Do NOT open window for 3 days. Allow 20-30 days for full adhesion/curing (faster in heat). Avoid cleaning during this period.
4.Troubleshooting Common Issues
- Bubbles:Tiny bubbles (<5mm) often vanish. For larger ones, prick with a pin near the edge and squeegee outward. Re-wet if needed before squeegeeing.
- Film Drifting:If slight misalignment noticed early, carefully lift the affected edge/section while wet, reposition, re-squeegee.
- Edge Lifting:Apply low heat (hair dryer) to the lifting area while simultaneously pressing down firmly with squeegee (heat reactivates adhesive).
5.Achieve Professional Results Yourself
With careful preparation and meticulous execution, your DIY window film installation can rival professional quality. Every step – precise measurement, clean glass, expert squeegeeing – contributes to long-lasting performance and satisfaction. Start with one window and experience how KASHIBANG High-Performance Window Films bring intelligent light and heat management to your home, enhancing comfort, privacy, and energy efficiency.
KASHIBANG is seeking Global Partners & Offers OEM/ODM Services! Contact us today: ksb0703@kashibang.com


